Converting a PDF to JPG images is one of the simpler PDF operations — but it is also the one where people most often end up with results they cannot actually use. The conversion itself works fine. The problem is that most people do not think about resolution before they convert, and they end up with images that look sharp on screen but turn blurry when printed, or images so large that they cannot be emailed or uploaded.
In five-plus years of working with document automation and PDF workflows, I have seen this play out repeatedly: someone converts a contract to JPG to text it to a colleague, and the text is too small to read on a phone. Or they convert a chart to embed in a presentation, and it looks pixelated when projected on a large screen. The conversion worked perfectly — the resolution just was not right for how the image was going to be used.
This guide covers how to convert a PDF to JPG for free using PDF Doctor, what actually happens during the conversion, how resolution and compression affect your output, and the specific situations where JPG is the wrong image format entirely.
What Actually Happens When You Convert a PDF to JPG
Understanding this takes a minute and explains most of the quality issues people encounter.
A PDF page is a vector-based document — text is stored as character data with font information, and many graphics are stored as scalable shapes. This means a PDF can be rendered at any size without losing quality. You can zoom into a PDF at 400% and the text stays crisp because it is being re-rendered from the underlying data every time.
A JPG is a raster image — a fixed grid of pixels. Once the image is created at a certain resolution, that is all the detail it will ever have. Zoom in and you see pixels, not crisp text.
When a conversion tool creates JPGs from a PDF, it rasterizes each page — rendering the vector content into a pixel grid at a specific resolution (measured in DPI, dots per inch). The tool then compresses the result using JPEG compression, which reduces file size by discarding some visual detail.
Two settings control the quality of your output. Resolution (DPI) determines how much detail the image captures. Higher DPI means more pixels, sharper text, and larger file size. Lower DPI means smaller files but blurrier content. Compression quality determines how much detail JPEG compression discards. Higher quality preserves more detail but produces larger files. Lower quality creates smaller files but introduces visible artifacts — blurriness, color banding, and fuzzy text edges.
This is why the same PDF can produce JPGs that range from perfectly crisp to completely unreadable depending on the tool's settings. And it is why "my JPGs look blurry" is the single most common complaint I hear about this conversion — the default settings were too low for the intended use.
Resolution Guide: What DPI Do You Actually Need?
This is the most practical thing to know before you convert, and most guides never mention it.
72 DPI — the bare minimum. Suitable only for small web thumbnails where the text does not need to be readable. Most content will look soft or blurry at this resolution.
150 DPI — acceptable for on-screen viewing at normal zoom. Good enough for embedding in presentations, sharing on messaging apps, or posting on social media where the image will be displayed at a moderate size. Text is readable but not razor-sharp.
300 DPI — the standard for print-quality output. Text is crisp, graphics are detailed, and the image can be printed without visible pixelation. This is what you should use if the JPG will be printed or displayed at a large size. The tradeoff is larger file sizes.
600 DPI — overkill for most purposes, but useful if you need to preserve fine detail in technical drawings, small text, or detailed charts that will be zoomed into.
A practical rule: if you are not sure, use 300 DPI. It covers almost every use case without producing unnecessarily large files. You can always downscale a high-resolution image later, but you cannot add detail to a low-resolution image after the fact.
How to Convert a PDF to JPG With PDF Doctor (Free, No Account Required)
Step 1: Open the Conversion Tool
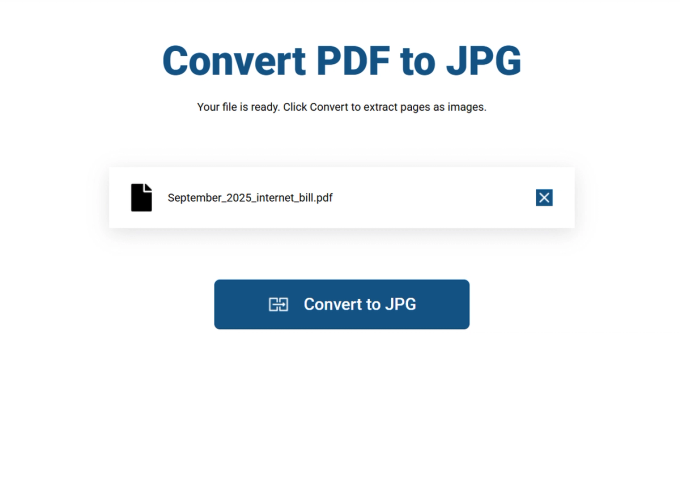
Go to https://pdfsdoctor.com/ and navigate to the PDF to JPG tool. No sign-up, no payment, no software to install. Works on Chrome, Firefox, Safari, and Edge, on desktop and mobile.
Step 2: Upload Your PDF
Click Upload PDF File and select the document you want to convert. The tool processes the file and prepares each page for rasterization.
Before uploading, consider how many pages you actually need as images. If you only need one or two pages from a long document, converting the entire PDF creates unnecessary files. Some tools let you select specific pages — if yours does not, you can split the PDF first to extract just the pages you need, then convert those.
Step 3: Convert the File
Click Convert PDF. The tool rasterizes each page into a JPG image. For standard-sized documents this takes a few seconds. Large PDFs with many pages or high-resolution graphics may take longer.
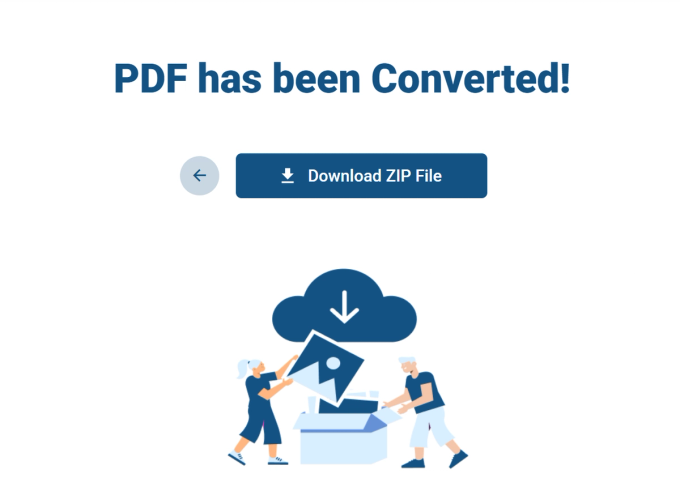
Step 4: Download and Review
Click Download JPG Files to save the images to your device. Each PDF page becomes a separate JPG file.
Then check the output at the size you actually intend to use it. This is the step most people skip, and it is where resolution problems become visible. Open the image and zoom to 100% — if you plan to embed it in a presentation, insert it into a test slide and view it in slideshow mode. If you plan to print it, check the pixel dimensions against your print size. If you plan to post it online, view it at the display size it will actually appear.
A concrete example: a teacher I heard from through our support channel converted a one-page handout to JPG so she could post it in her class's messaging group. The image looked fine on her laptop, but when students opened it on their phones and pinched to zoom into specific sections, the text became unreadable. The conversion had used 96 DPI — enough for a full-page view on a large screen, but not enough for zooming into details on a small one. She reconverted at 300 DPI, and the text stayed crisp even when students zoomed in. The file was larger, but it was actually usable.
A Note on Privacy
Uploaded files are automatically deleted from our servers after processing and are not stored or shared. If your PDF contains sensitive content — confidential reports, personal records, private images — and your organization requires files to never leave your machine, desktop tools like Adobe Acrobat, GIMP (free, open-source), or command-line tools like ImageMagick and Poppler process everything locally. For everyday conversions, browser-based processing is a practical and secure option.
JPG vs. PNG: Choosing the Right Image Format
This is a decision most people do not realize they are making — but it significantly affects the quality of the output.
JPG (JPEG) uses lossy compression. Every time you save a JPG, it discards some detail to reduce file size. This is fine for photographs and complex images with many colors and gradients. It is not ideal for text, line art, diagrams, or anything with sharp edges and flat colors — JPEG compression blurs those edges and introduces artifacts around text.
PNG uses lossless compression. No detail is discarded. Text stays razor-sharp, lines stay crisp, and flat colors remain solid. The tradeoff is larger file sizes, especially for complex images with many colors.
The practical rule: if your PDF pages are mostly text, tables, diagrams, or charts with flat colors, PNG will produce noticeably better results than JPG. If your pages contain photographs or complex full-color images, JPG is the appropriate format. If you need the smallest possible file and can tolerate some softness, JPG at moderate quality is the compromise.
Many people default to JPG because it is the format they are most familiar with, not because it is the best choice. For document pages — which are mostly text and line graphics — PNG is almost always the superior option. If your conversion tool offers PNG as an output format, try it.
What Typically Goes Wrong
Blurry text. The most common issue, and almost always caused by too-low resolution. If text is soft or unreadable, increase the DPI setting and reconvert.
JPEG compression artifacts around text. Even at high resolution, JPEG compression can create visible halos and fuzziness around text characters. This is an inherent limitation of the JPEG format for text-heavy content. Switch to PNG if crisp text matters.
Huge file sizes. High-resolution JPGs of complex pages can be surprisingly large — several megabytes per page. If you need smaller files, reduce the resolution or compression quality, but check that the result is still usable for your purpose.
Color shifts. Some conversion tools change the color profile during rasterization. If the colors in the JPG look different from the PDF — particularly if the PDF uses CMYK color (common in print-designed documents) and the JPG is converted to RGB — this is why. For most web and screen use, RGB is correct. For print, color accuracy may require a more specialized tool.
Missing or degraded transparency. JPG does not support transparency. If your PDF has pages with transparent elements or no background color, the JPG will fill those areas with white (or sometimes black). If you need transparency preserved, use PNG.
When PDF-to-JPG Conversion Makes Sense
Sharing specific pages via messaging or social media. The most common use case. You need to send one or two pages from a document through WhatsApp, Slack, iMessage, or social media — platforms that display images inline but handle PDFs poorly or not at all. JPG makes the content instantly viewable without the recipient needing to open a separate app.
Embedding document pages in presentations. If you need a page from a report, chart, or diagram to appear on a PowerPoint or Google Slides presentation, inserting it as a high-resolution JPG is often simpler and more reliable than trying to convert the PDF to PowerPoint format. The page appears exactly as it looked in the PDF.
Posting document content on websites. If a web page needs to show the visual appearance of a document page — a sample certificate, a preview of a form, a snapshot of a report — embedding a JPG is straightforward and universally supported.
Creating thumbnails or previews. If you need small preview images of document pages — for a file browser, a document management system, or an email attachment preview — low-resolution JPGs serve this purpose efficiently.
Archiving visual snapshots. Sometimes you need a permanent visual record of exactly how a document looked at a specific point in time. A JPG captures the rendered appearance, while the PDF captures the structured content. Both have archival value for different reasons.
When PDF-to-JPG Is the Wrong Approach
If you need to edit the content — a JPG is a flat image. Text in a JPG cannot be searched, selected, copied, or edited. If you need to edit the document, convert to Word instead.
If you need the text to remain selectable and searchable — JPG removes all text data. The words are just pixels. If searchability matters, keep the PDF or convert to HTML.
If you need print-quality output for professional printing — while 300 DPI JPGs print adequately for most purposes, professional print workflows typically use TIFF or PDF with specific color profiles. JPG compression can introduce visible artifacts in high-quality print contexts.
If the document has many pages — converting a 50-page PDF produces 50 separate image files. Managing, naming, and organizing that many images is cumbersome. If you need the entire document in a shareable format, a PDF is already the better option.
If you need transparency — JPG does not support transparent backgrounds. Use PNG instead.
What PDF Doctor's Conversion Tool Does Well — and Where It Has Limits
Our tool is built for: converting text-based PDFs into JPG images quickly and for free in a browser. Straightforward documents, single pages, and standard-complexity layouts are the sweet spot.
Where other tools are a better fit:
If you need fine control over DPI, compression quality, and output format (JPG, PNG, TIFF), Adobe Acrobat and the free open-source GIMP offer granular export settings. If you need to batch-convert many PDFs programmatically, command-line tools like ImageMagick (with Ghostscript) or Poppler's pdftoppm handle automated conversion at scale. If you need PNG output for text-heavy pages, check whether your tool supports it — the quality difference over JPG is significant for document content. If you need to convert only specific pages rather than the entire PDF, split the PDF first using a split tool, then convert the extracted pages.
Common Conversion Mistakes and How to Avoid Them
Not thinking about resolution before converting. The single most impactful factor in output quality. Decide how the image will be used (screen, print, zoom) before converting, and choose a DPI that matches. When in doubt, use 300 DPI.
Using JPG for text-heavy documents when PNG would be better. JPEG compression inherently degrades sharp edges. If your pages are mostly text, tables, or line graphics, PNG produces noticeably crisper results. JPG is better suited for pages with photographs or complex color imagery.
Not checking the image at the intended display size. An image that looks fine as a thumbnail can be unreadable when zoomed in or projected. Always verify quality at the size the image will actually be viewed.
Converting the entire PDF when you only need a few pages. A 50-page conversion creates 50 files to manage. If you only need pages 3 and 7, split those pages out first and convert them individually.
Repeatedly saving and re-compressing JPGs. Each time a JPG is opened, edited, and saved again, it loses more detail due to re-compression. If you need to edit the image, save your working copy as PNG and only export to JPG as the final step.
Forgetting that JPG strips all text data. Once converted, the text in the image is just pixels. It cannot be searched, indexed, or copied. If you later need the text, you would have to run OCR on the image — which brings you back to where you started. Keep the original PDF.
Tips for the Best Results
Use 300 DPI as your default unless you have a specific reason to go lower. For text-heavy pages, try PNG instead of JPG if your tool supports it. Check the output at the actual size it will be displayed — not just as a thumbnail. Convert only the pages you need rather than the entire document. Keep the original PDF — JPG is a one-way trip from editable to non-editable. If file size matters, experiment with compression quality settings to find the balance between size and clarity for your specific content.
Wrapping Up
PDF-to-JPG conversion is a straightforward operation with one important variable: resolution. Get the DPI right for your intended use and the output will be clean and usable. Get it wrong and you have blurry, unreadable images that waste everyone's time.
The key to good results: choose your resolution based on how the image will be used (150 DPI for screen, 300 DPI for print or zoom), consider PNG instead of JPG for text-heavy content, check the output at its intended display size, and keep your original PDF for any future needs.
The conversion tool used in this guide is available at https://pdfsdoctor.com/